

How & Why you Should Create a Custom “404 Not Found” Page in Squarespace
We’ve all seen it happen - you click a link to a website and instead of showing you what you want, it tells you, “Oops, this page doesn’t exist!” That right there is called a 404 Not Found page.
404 pages are actually a super helpful feature to have! They ensure that visitors will still land on your website even if there is a problem, however, they can also often be a total traffic killer (aka people will just leave when they see the “not found” message) and they aren’t always very nice to look at which messes up the flow of your site and, again, turns people away.
That’s why we’re of the strong opinion that you should always customize the default 404 Not Found page to look nicer and fit the specific needs of your website and the people who will be visiting it.
And, you guessed it, Squarespace makes it so easy to customize this page without any extra design experience or coding needed. Just another reason why we love them so much!
Keep reading to learn exactly what a 404 page is, why it’s so important, and how you can customize the default 404 page in Squarespace to fit your brand.

What is a 404 Page and Why is it so Important?
A 404 Not Found page is an error message that shows up when someone is trying to access a page on your website that doesn’t exist!
When you see a 404 page, it essentially means that the computer couldn’t find anything to match the link you clicked on or the url you pasted into your browser. This could happen for a few different reasons:
The page has been removed
The page url has been edited
The website domain has changed
The visitor simply typed in the wrong url or misspelled something
Some of these issues, like a domain change, are bigger matters and some are very common. Especially if you post a lot of blog content or have been in business for many years and have tons of links floating around the internet and social media!
If you’re diligent with your website links and have a good system in place for performing link checks (we’ll get into that later), then it’s less likely that your visitors will come face-to-face with a 404 page regularly. However, it’s not uncommon for broken links to just sneak in there.
Thankfully, you don’t have to panic or immediately go out and track down every link you’ve ever posted on Pinterest, thanks to the 404 page!
The aim of the website game is to keep people on your site, right? Well, if visitors can’t load your content at all, then your business is going to suffer majorly. That’s why we love 404 Not Found pages. They help to raise the chances of people sticking around even if there is a slight link issue, which makes them super valuable.
And if you customize the default error message to be informative, aesthetically pleasing, and relevant to your business then the chances of visitors staying on your site goes up even higher!
How to Set-Up your Custom 404 Page
Okay, now that you know why the 404 page is so important, let’s get into exactly how you can customize your own!
First things first, you’ll want to head over to your Pages Panel and add a new Blank Page to the Not Linked section.
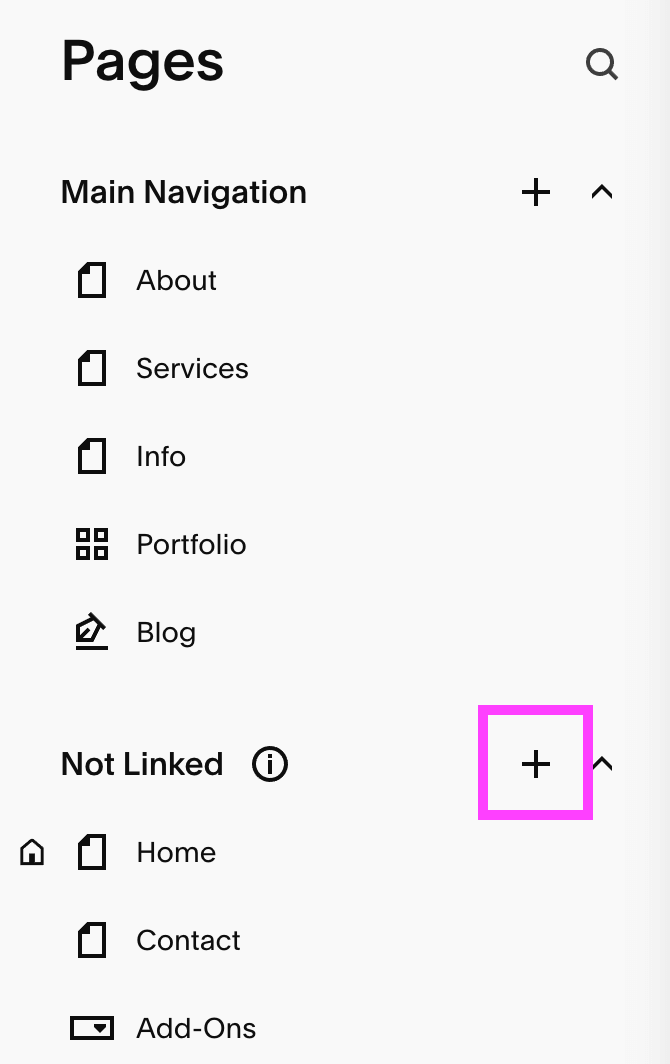
You can call this page something like “Custom 404” or “Not Found”. Whatever will make the most sense to you.
Now you’ll be able to design this page however you’d like, just like you would any regular page on your website! You can add different sections, blocks, and any other elements that you need to complete your “not found” error message.
👉 How to Edit in Squarespace 7.1 with Fluid Engine - Best Practices & Tips
Once you’re happy with the design, you’ll need to override Squarespace’s default message with your customized version. This is so much easier than it sounds!
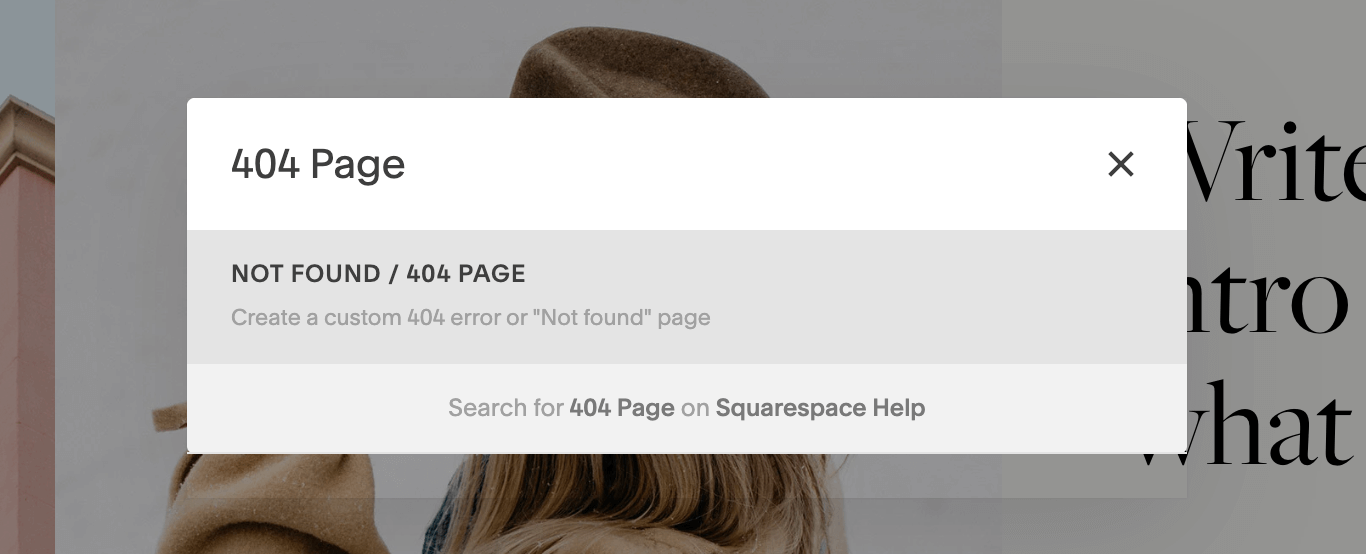
All you need to do is click the Slash Key ( / ) on your keyboard and type in “404 Page” to be taken directly to the 404 Error/Page Not Found panel.
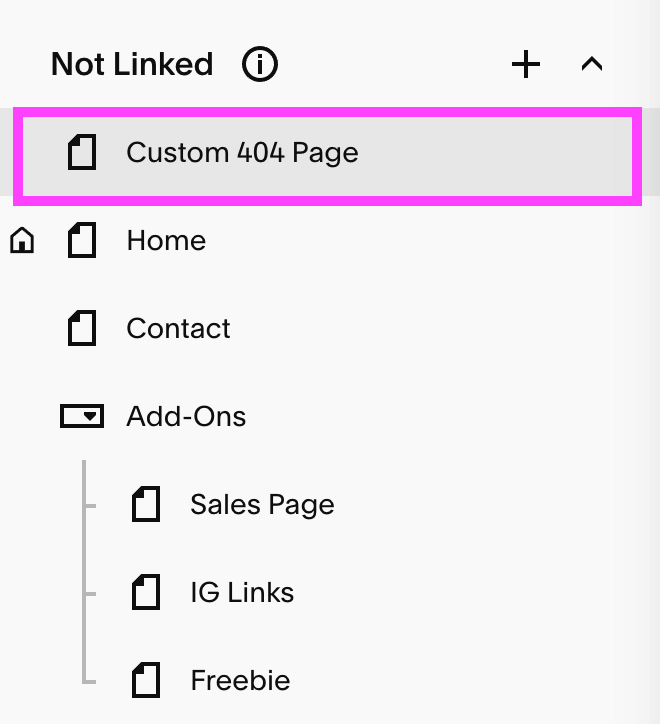
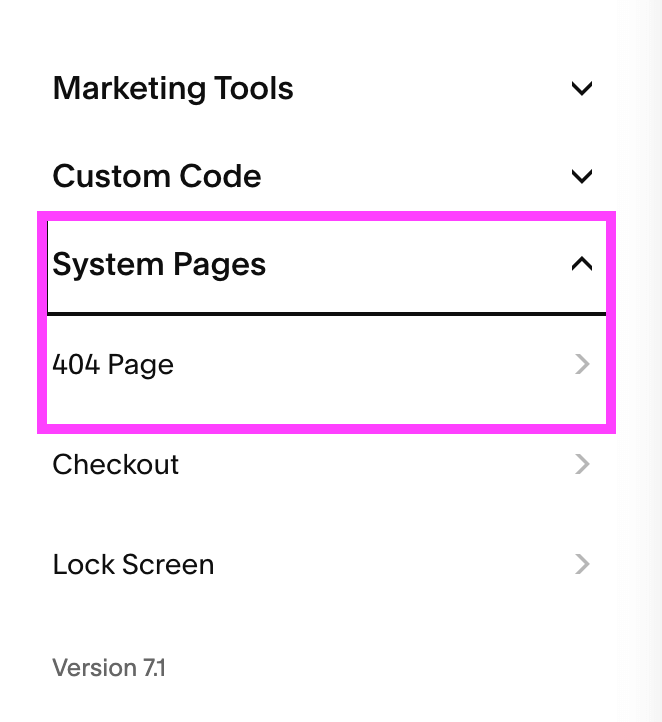
Alternatively, you can head back into your Pages Panel, scroll to the bottom and click System Pages > 404 Page.
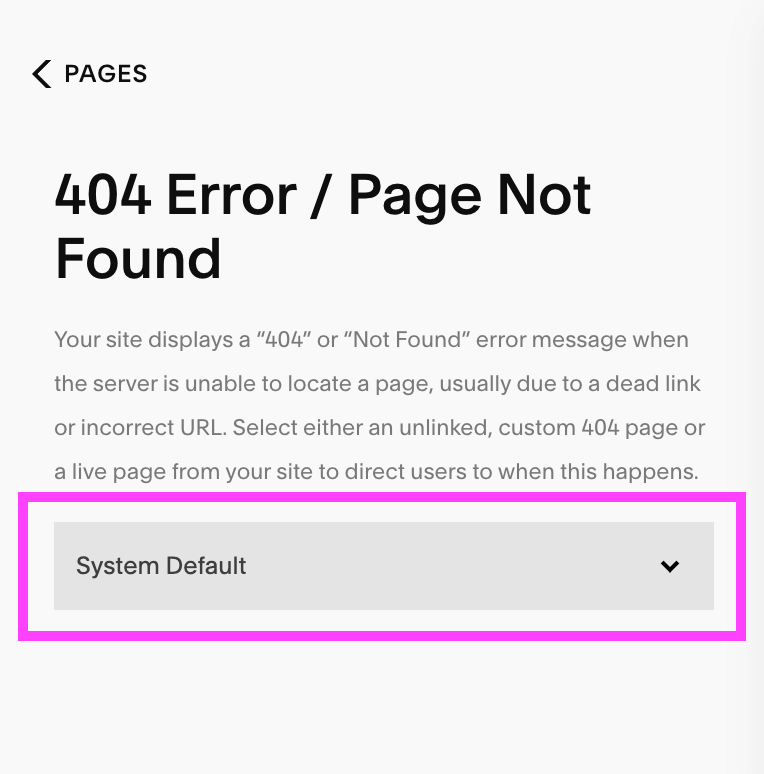
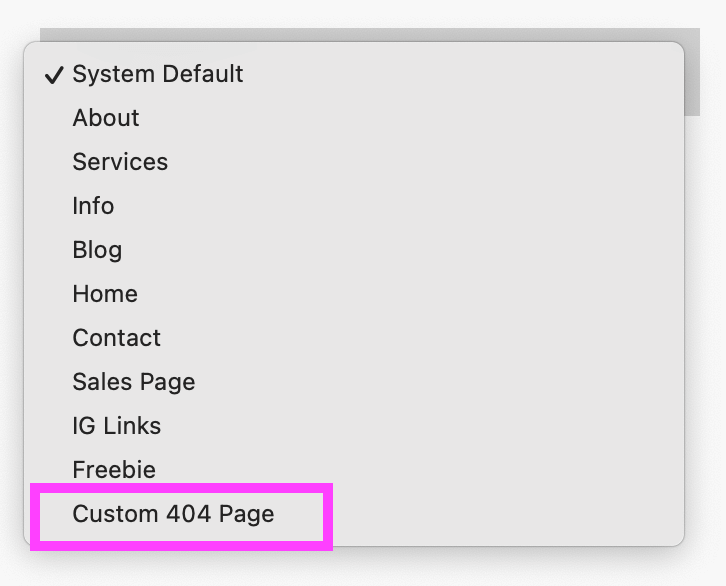
From the 404 Error/Page Not Found panel, use the dropdown menu to find your newly created custom 404 page. All of the pages on your website will show up in this menu, so you’ll just need to scroll until you find the correct page.
Click Save in the top left corner and that’s all there is to it!
What Should you Include on your Custom 404 Page?
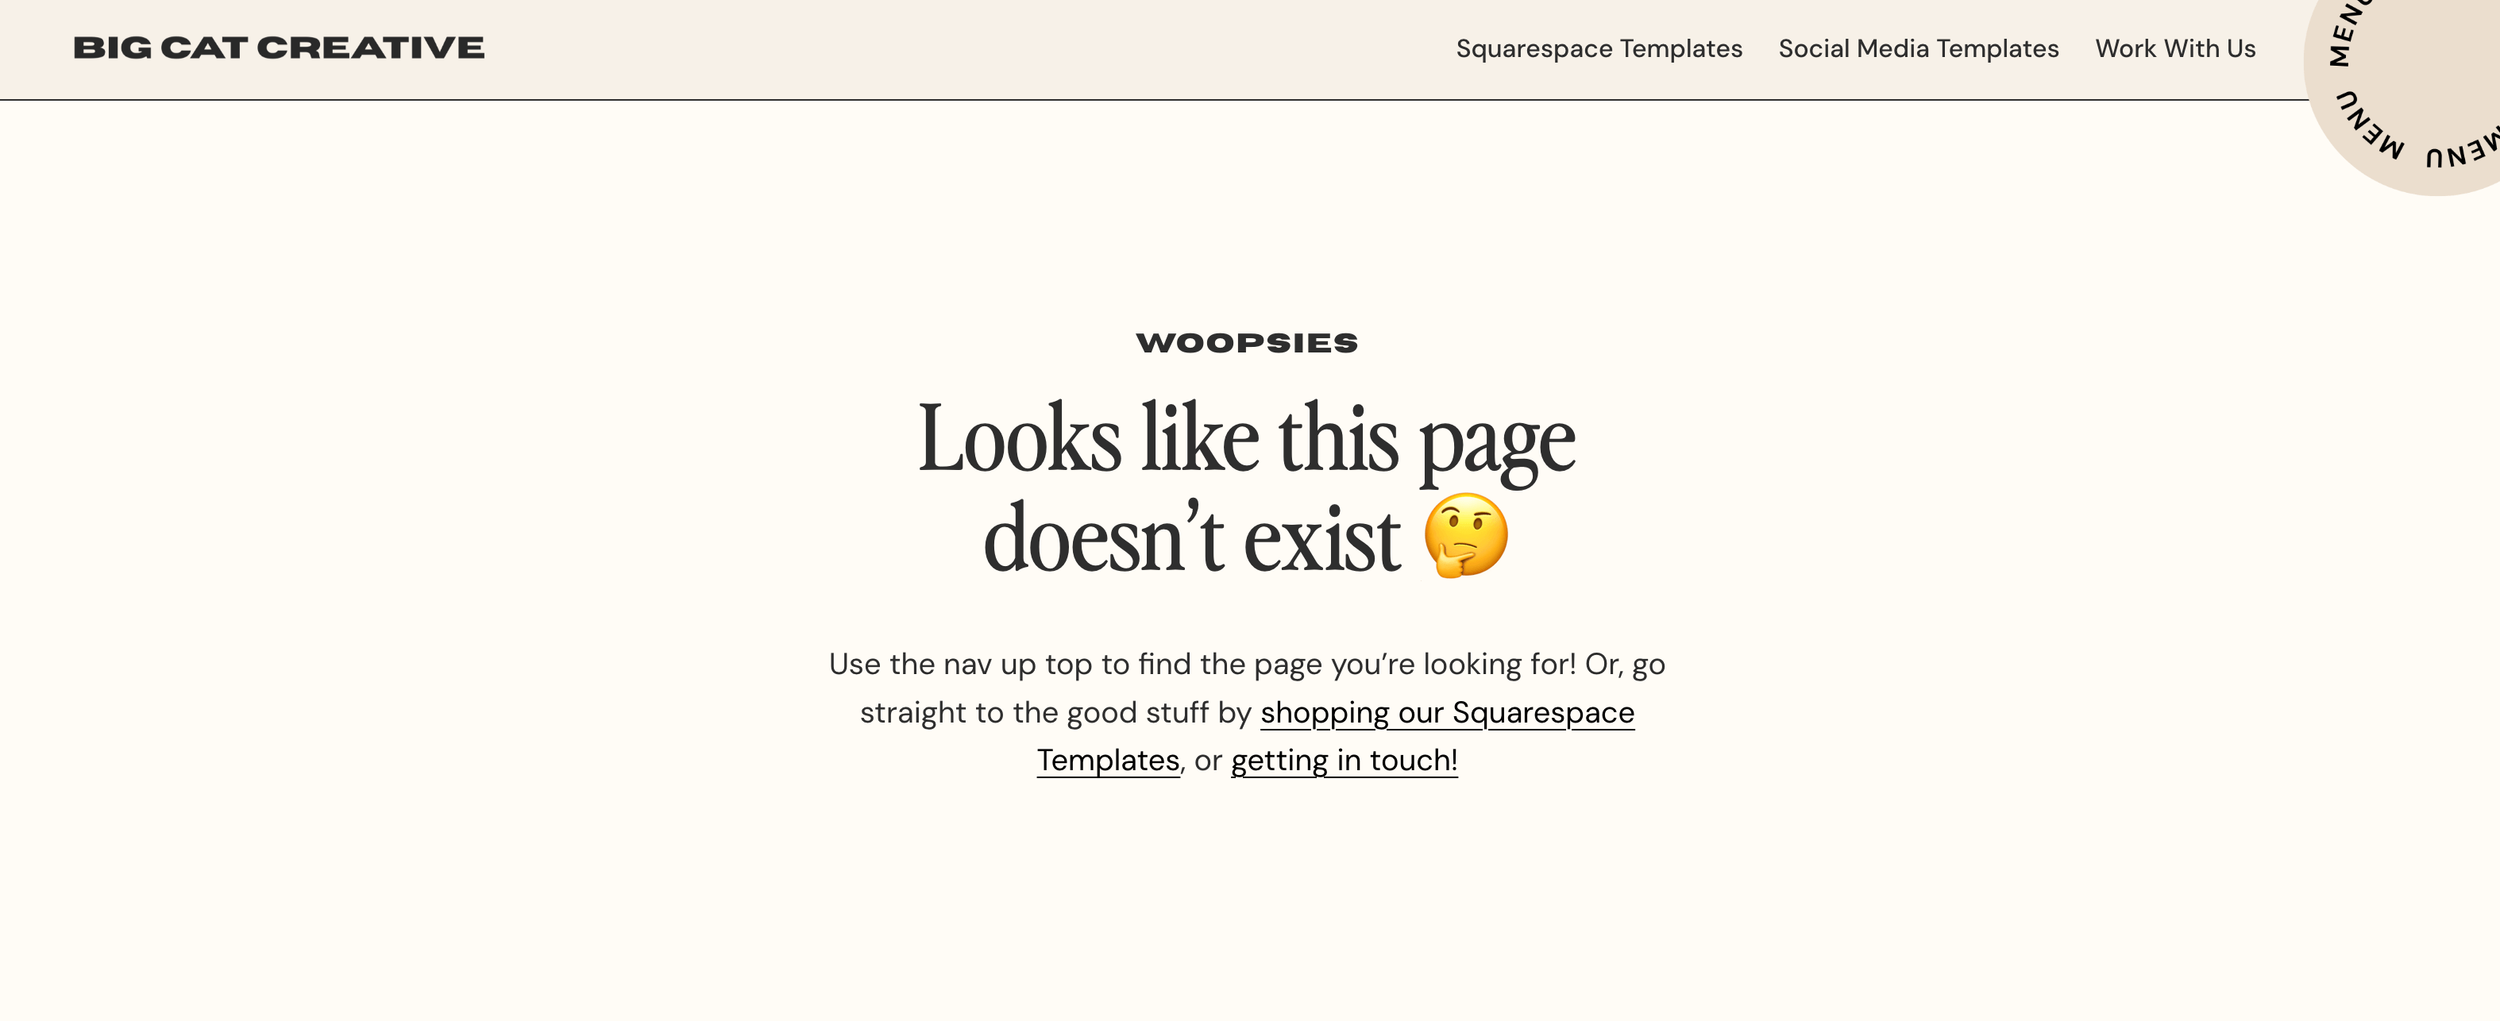
You'll notice (from the steps above) that in the 404 Error/Page Not Found panel, your 404 page is automatically set to "System Default". This is because all Squarespace websites come with a default 404 Not Found page that includes a very basic error message. It looks something like this:
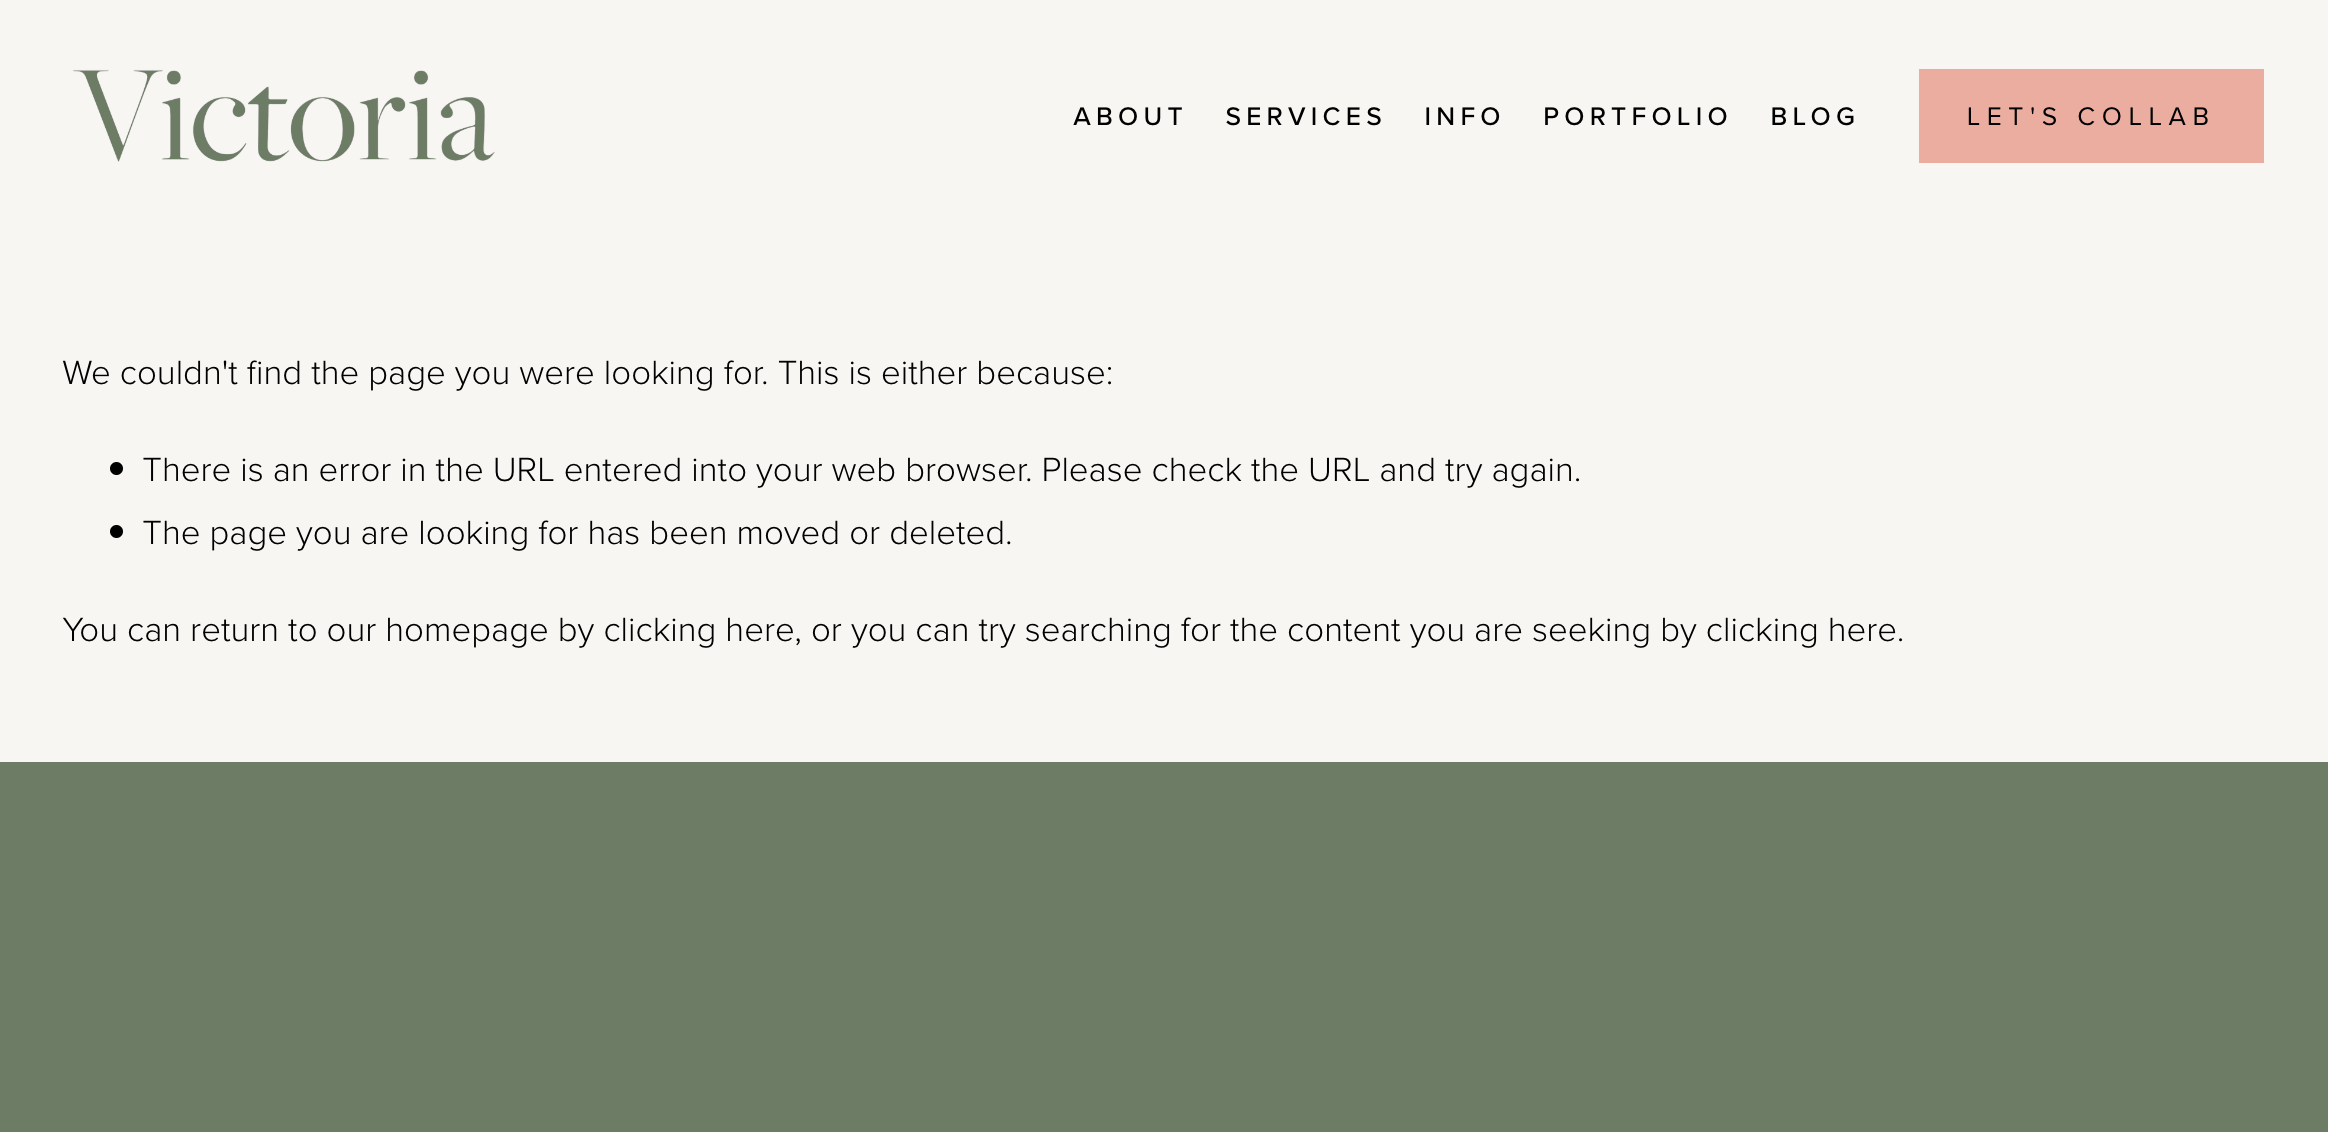
While it’s so much better to have this vs nothing at all, the message doesn’t offer any information specific to your site, and it looks more like an actual error than a helpful tool. As soon as people see this page, they’re likely to navigate away, but, don’t you worry, there’s a ton you can do to improve the message and keep visitors browsing your website!
Here are some of our favorite ideas:
Add an Eye-Catching Heading
If a visitor lands on a page titled “404 PAGE NOT FOUND” there’s a good chance they will be gone before they even read the rest of the page. And the Squarespace default error message doesn’t include a heading at all, which is even worse!
Instead, try to use something more human and personable that also points visitors in the direction of something useful. This will catch their attention and make them want to read more. Some ideas might be:
“Uh oh! You might be lost, but don’t leave just yet!”
“Whoops, we can’t find the page you’re looking for, but stick around…”
“Hey! You’ve landed on a page that doesn’t exist (sorry!). But check this out…”
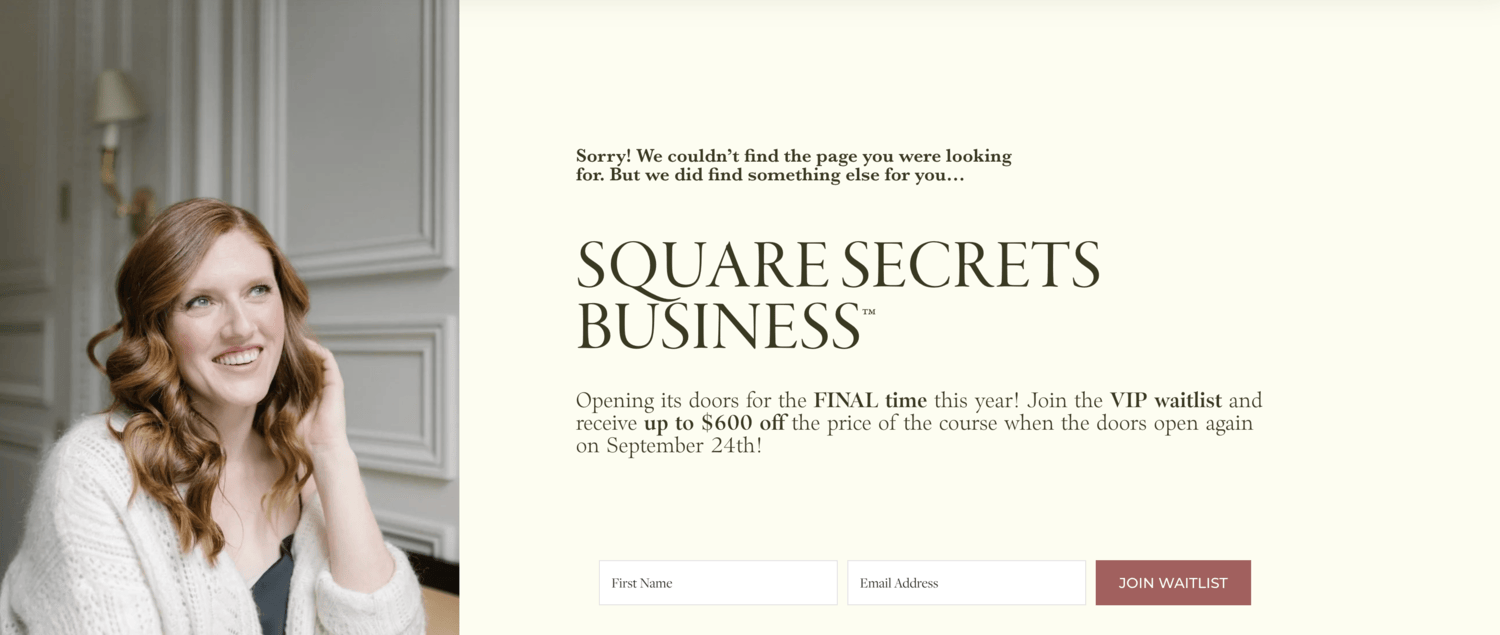
Website: Paigebrunton.com
Add a Search Bar
We love the idea of adding a search bar to a 404 page so that visitors can conveniently search for what they came to see in the first place!
You can achieve this by using Squarespace’s built in search bar block, which you can add to any section by clicking Add Block > Search.
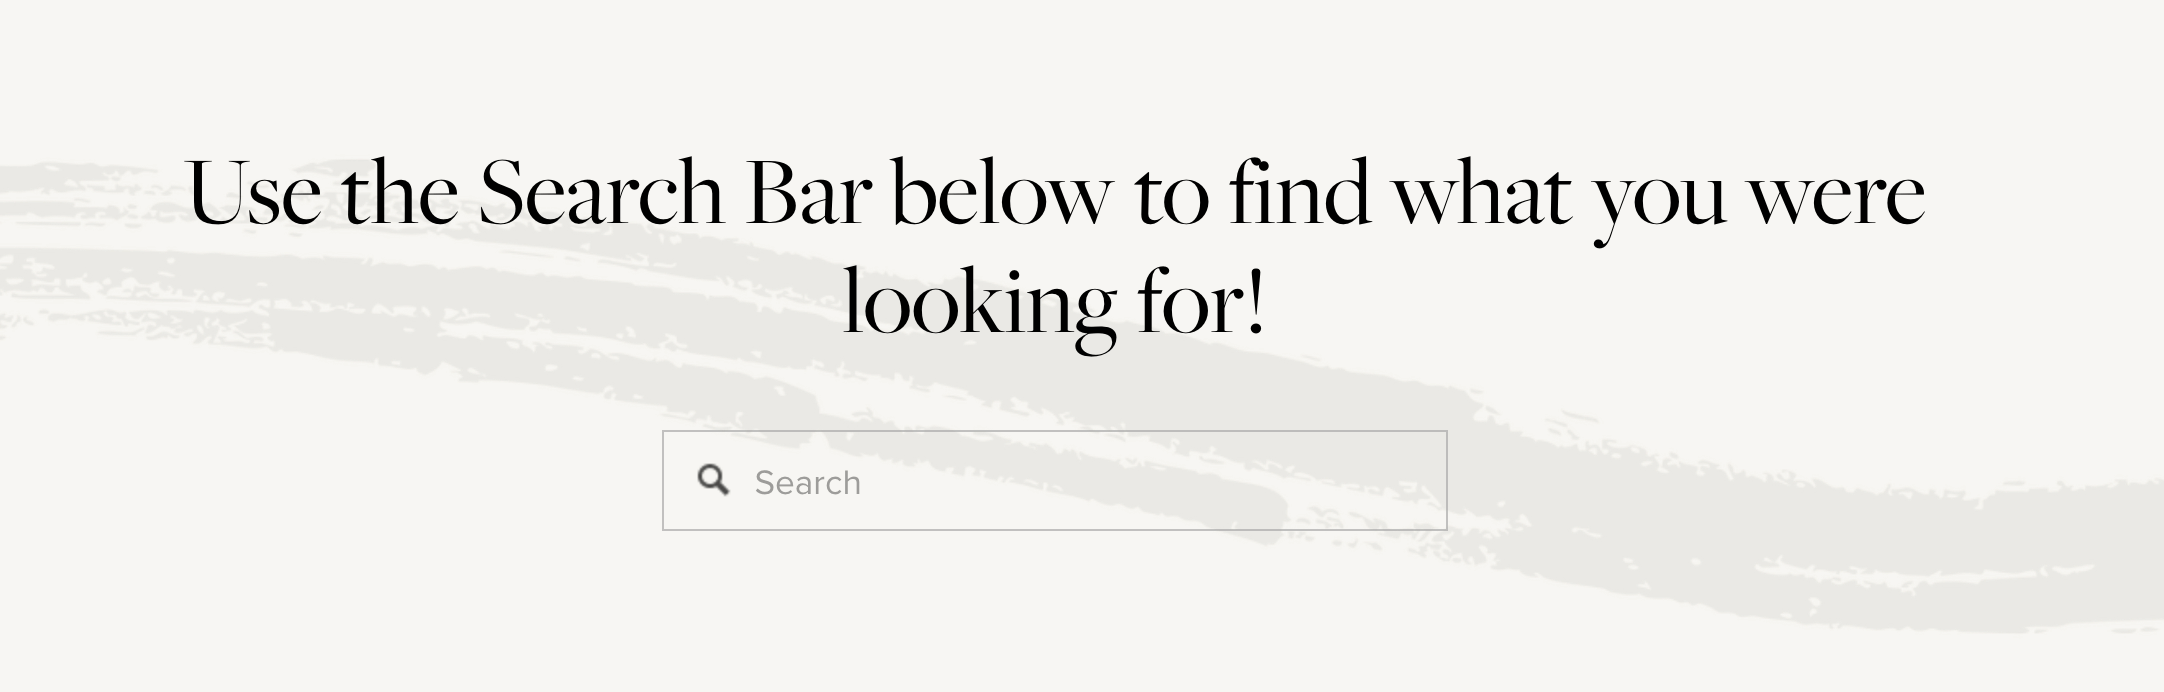
Created using our Victoria Premium Squarespace Template
We recommend making a clear statement about how to use the search bar. Something like “Use the Search Bar to find what you’re looking for!” or “Search below to find what interests you!” You can also direct people to your main navigation as a back up plan, since you can’t guarantee everyone will use the search bar.
Add a Contact Form
404 pages are the perfect opportunity to provide your contact information and/or a form that visitors can immediately fill out to get in touch with you.
Doing this shows that you are invested in creating connections and don’t want people to leave your site feeling like they didn’t get what they came for. Trust us, we’ve had tons of firsthand experience with visitors utilizing the 404 page contact form, so we know just how effective this can be!
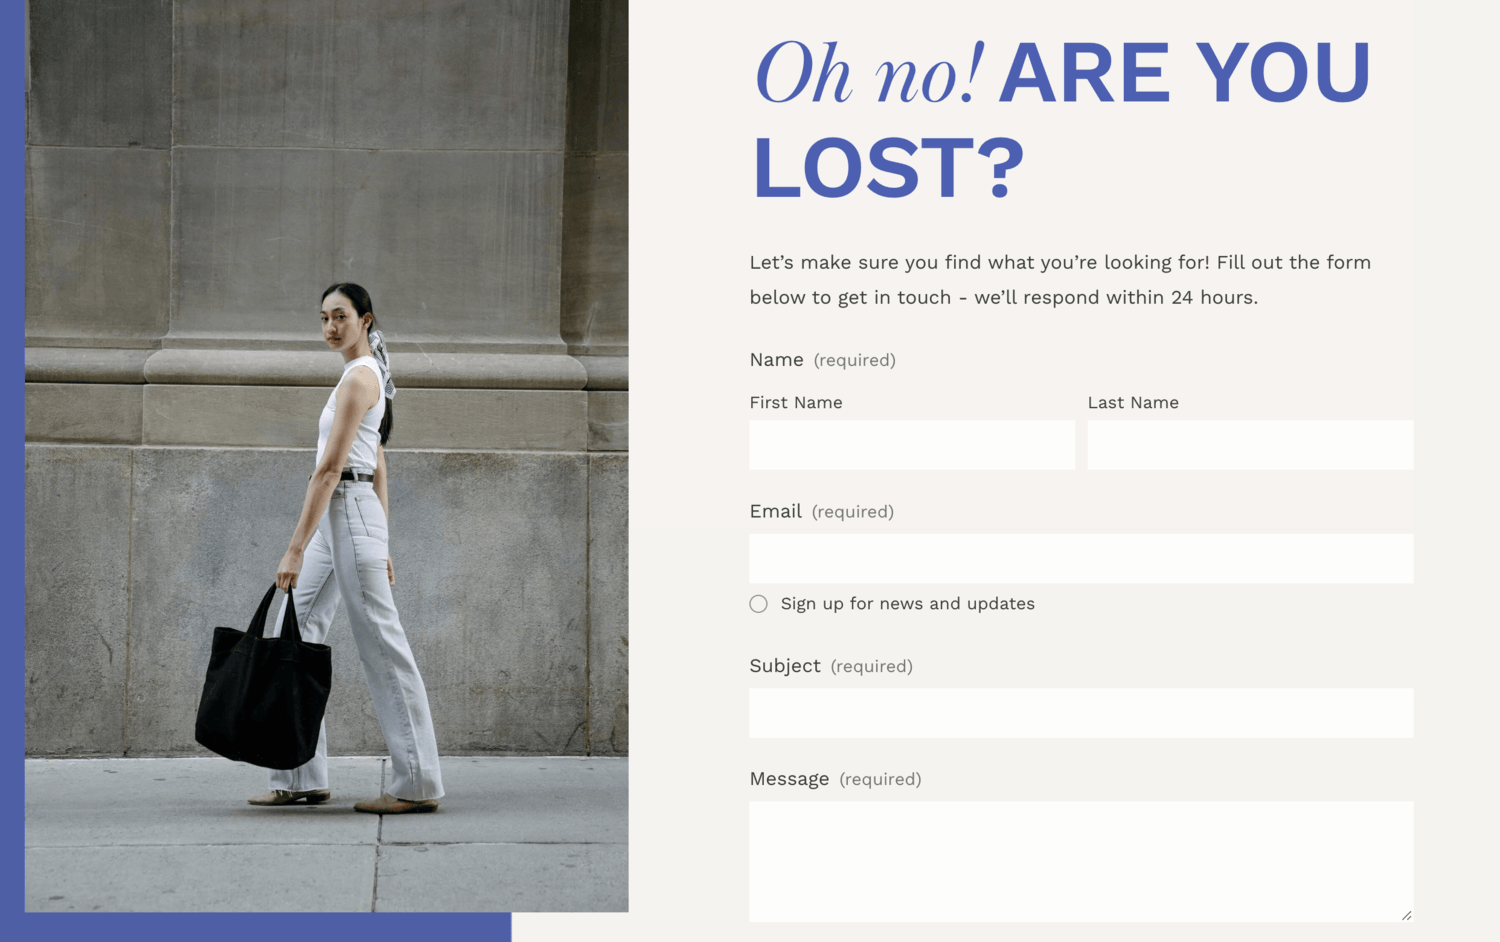
Created using our Unearth Premium Squarespace Template
And if you don’t want to add an entire contact form, you can simplify things by instead adding a button that links to your existing contact page or a bold link that does the same. Just giving people some way to quickly get in touch with you is going to do wonders.
Think About Your Audience and Keep it on Brand
Ultimately, you can really add anything to the 404 page! Think about your ideal customer and what you think will tempt them to stick around. Would they appreciate an opt-in? An “About Me” section? A Carousel of your best selling products?
Go ahead and add whatever you think will get your visitors hooked!
And always (always) remember to keep this page on brand. Even though it’s technically an error message, it’s still a part of your website and should reflect who you are as a business and your brand identity.
Put some thought into the design! Add your logo, illustrations, images, and anything else that helps tie the page into the rest of your website, though make sure to not over clutter it. Keep the search bar and any other navigation options clean and obvious and only include what’s totally necessary.
How to Check for Broken Links on Your Website
Even though you now have a gorgeous custom 404 Not Found page, it’s still best to make sure that all of your links and urls are as functional and updated as possible, so, before we wrap things up, let’s talk about a few ways that you can check for broken links on your website!
Manually Check your Links & URLs
Our first, and most obvious, tip is to always double (and triple) check your page urls and the links associated with them.
You want to keep an eye out for
Typos: Sometimes when we’re working quickly, tiny mistakes get made. For example, if you think that the url for your “about me” page is yourbiz.com/aboutme but you accidentally made it yourbiz.com/aboiutme or yourbiz.com/aboutem, then suddenly you're passing around a link that doesn’t, in fact, exist and you might not even realize it.
Edits: If you do make an edit to a typo in a url or simply change a page’s url altogether, anything that was linked to the old url will become “broken”. Aka, it won’t exist anymore! If you do make any url edits, it’s best to follow that up with a quick link check around your website and throughout your main social media platforms to ensure that those links are updated as well.
Dead Links: If you have a lot of blog content or have been in business for a while, then you might find yourself deleting posts or pages of content as things become outdated or irrelevant. This is totally normal, but just keep in mind that any pre-existing links for that removed content will no longer lead to anything. This might be super hard to manage if you’ve, say, been posting on Pinterest for years (which is where your 404 page comes to the rescue!), but if you’re able to easily locate old links and either delete or update them, it’s best to do so whenever possible.
Create URL Redirects
A URL redirect is a way of forwarding (or redirecting) people away from a page on your site that no longer exists, to one that's active!
From an SEO standpoint, you can create redirects that are more permanent (301 redirects) and redirects that are only meant to be temporary (302 redirects). Either way, these redirects are super helpful for navigating visitors toward the content that is most relevant on your website without having to individually change every link that you've ever shared.
Accomplishing this does require a tiny bit of copy and paste code in the form of URL Mappings, but we've got you covered with a step-by-step walkthrough that includes everything you'll need to get this done. Check out the blog post below!
👉 Why URL Redirects are so Important and how to Create them in Squarespace
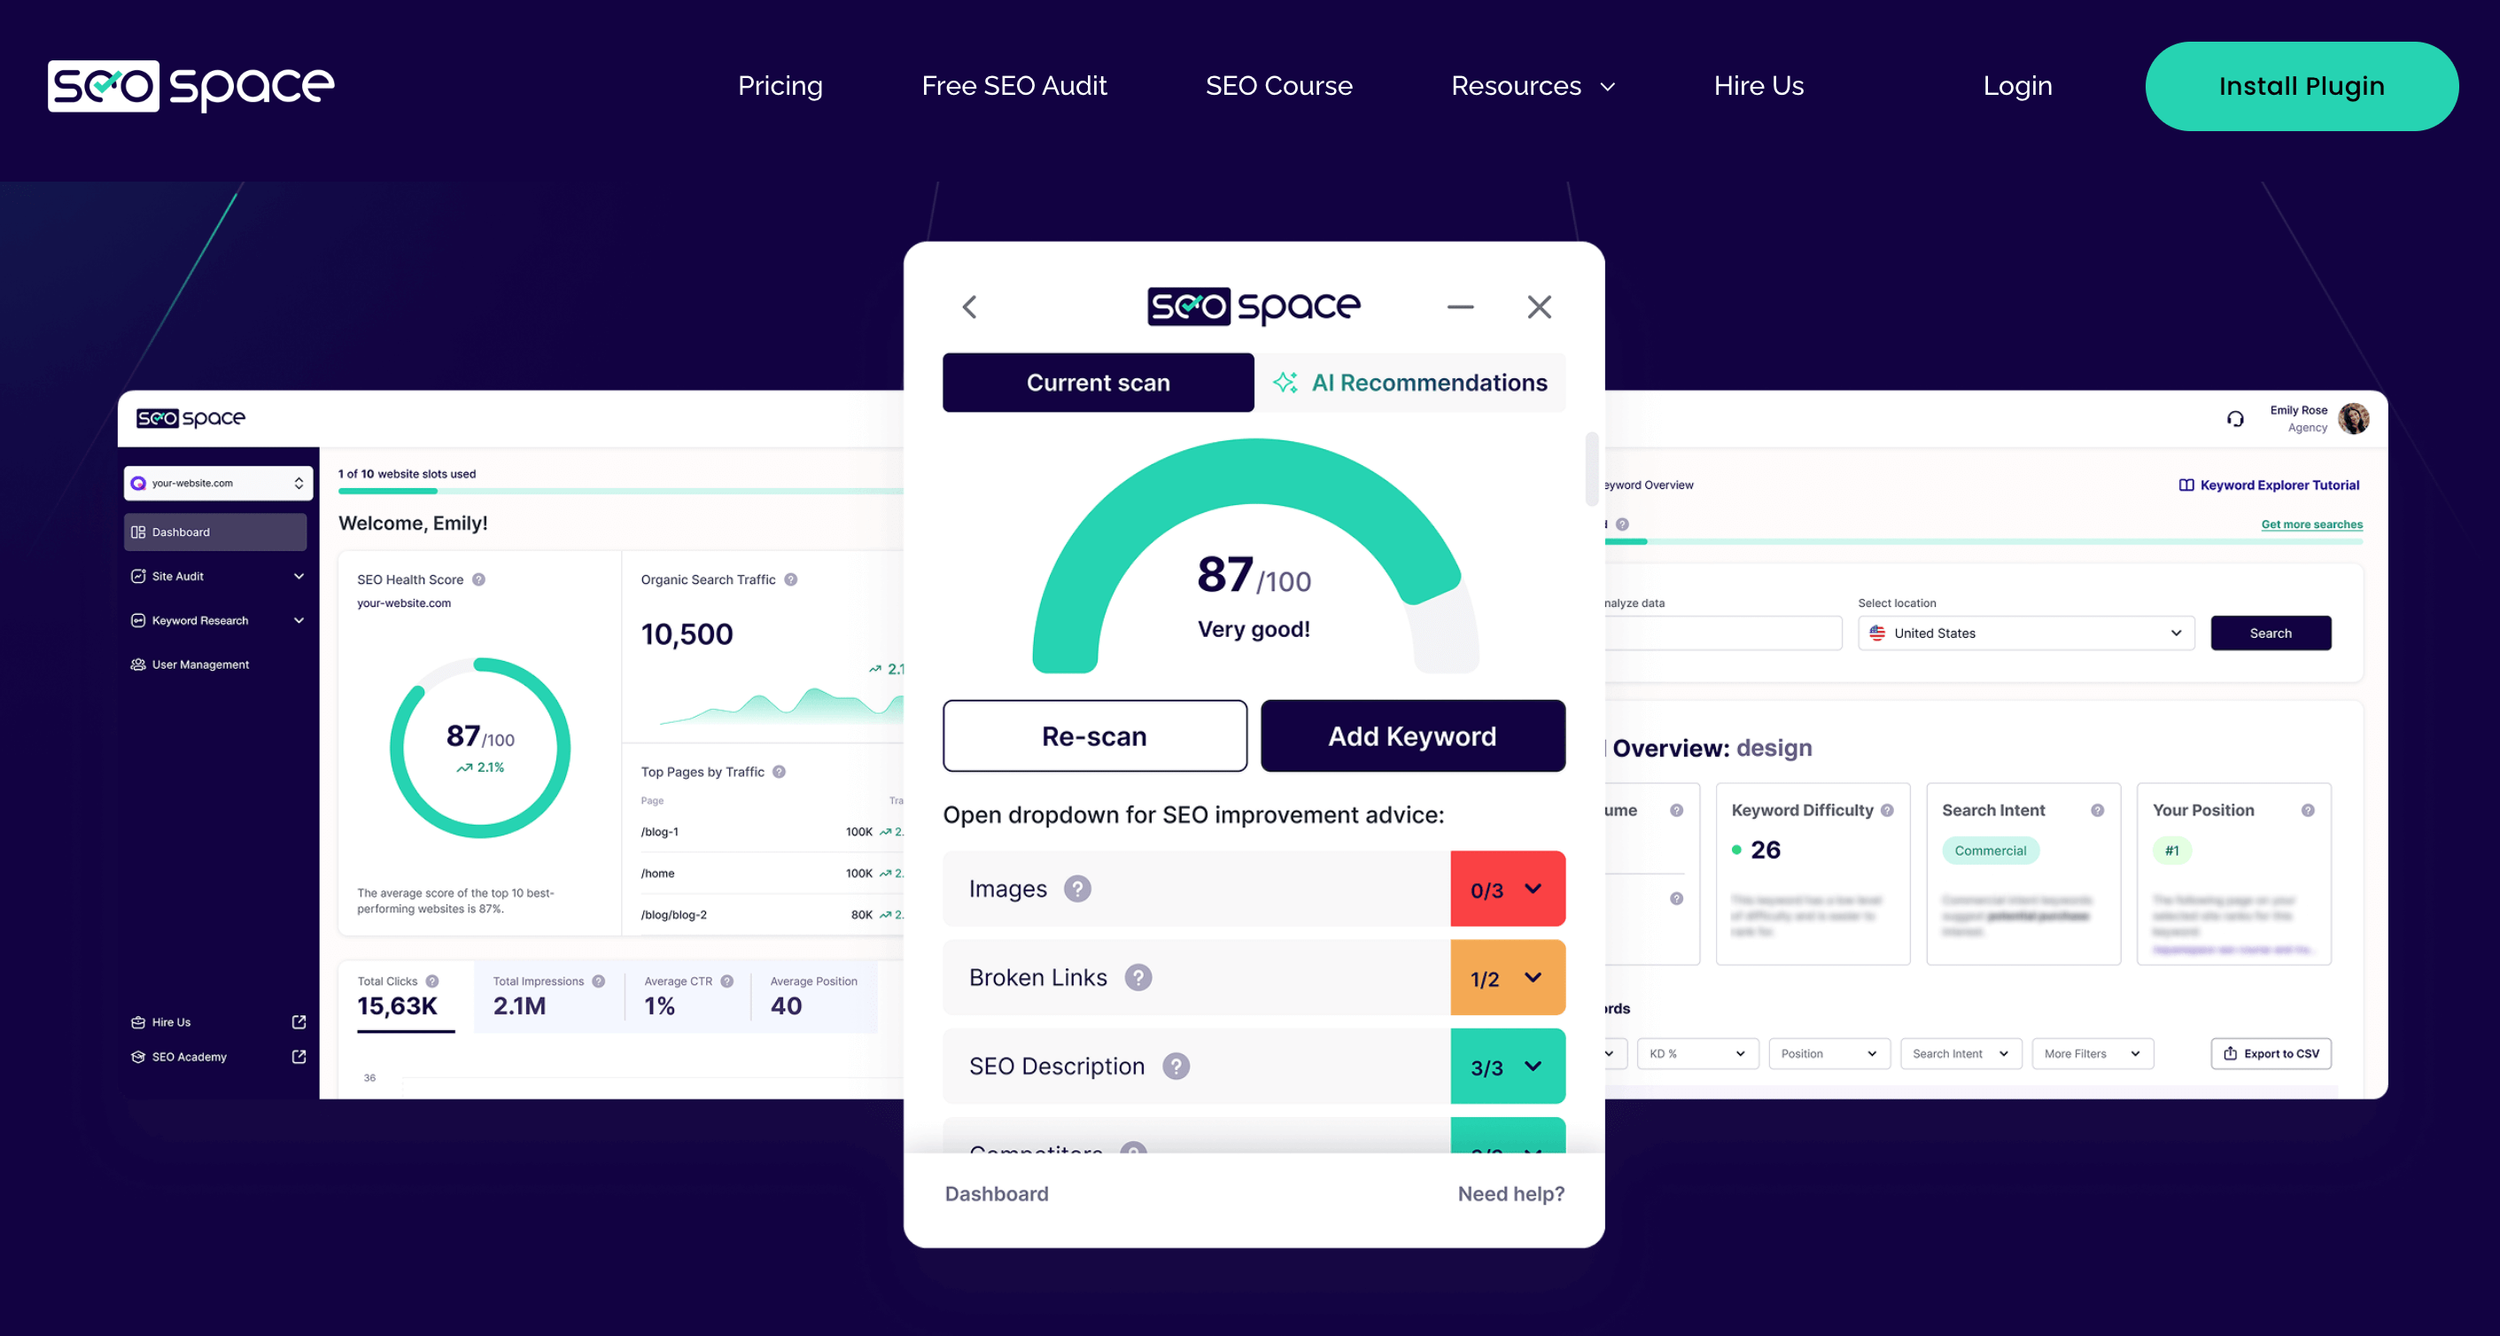
Use an Online Tool or Plugin
There are also some less manual ways to check for broken links! You can try using a free online tool that scans for dead or broken links. There are dozens of these out there on the internet, so if you google “free link checker” you should be able to find lots of options to try.
Or, if you want something a bit more secure and are willing to make a small investment, you can also try some of the various paid plugins out there. These tools will run diagnostics on your site and let you know if any broken links are detected (along with a bunch of other helpful checks).
Our favorite plugin is SEOSpace! Not only will it check for broken links, but it’s a game-changing SEO tool in general, created specifically for Squarespace users.
At the end of the day, as long as you’re on top of things and paying close attention to what content is added, edited, and removed on your website, you shouldn’t have to worry too much about broken links. And if all else fails, you’ll have a customized 404 page ready to go!
So there you have it, everything you need to know about 404 Not Found pages and how to customize your own in Squarespace. Hopefully this post has inspired you to get cracking on your own 404 page. Happy designing!
Liked this post? Pin it to Pinterest! 👇
